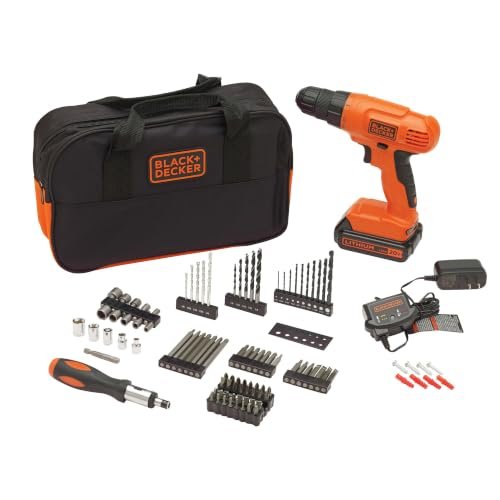
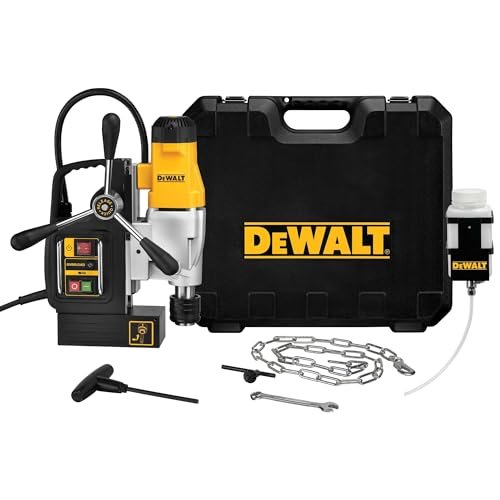
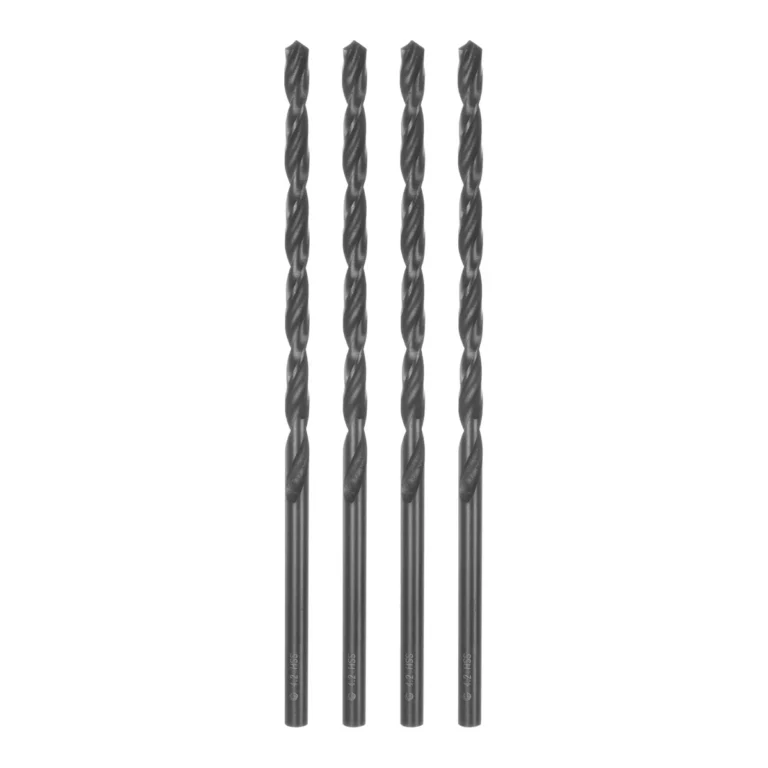
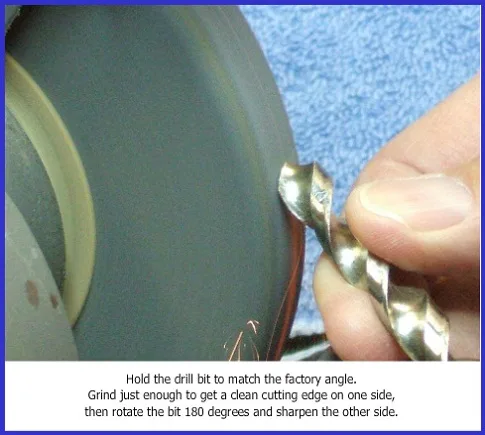
What is cordless drill used for: Easy guide
You pick up a cordless drill and it does about a dozen different jobs. The question "what is a cordless drill used for" has a wider answer than most people expect. It's not just a hole puncher for studs.
It drives, mixes, taps, and reaches into tasks you'd assume need a separate tool.
In our research across manufacturer specifications and field-use data as of 2026, a standard 18V cordless drill/driver combo covers roughly 80% of residential and light-trade tasks. That single number reframes the whole tool. So let's break down what it actually does, mode by mode, and when you should walk away and grab something else.
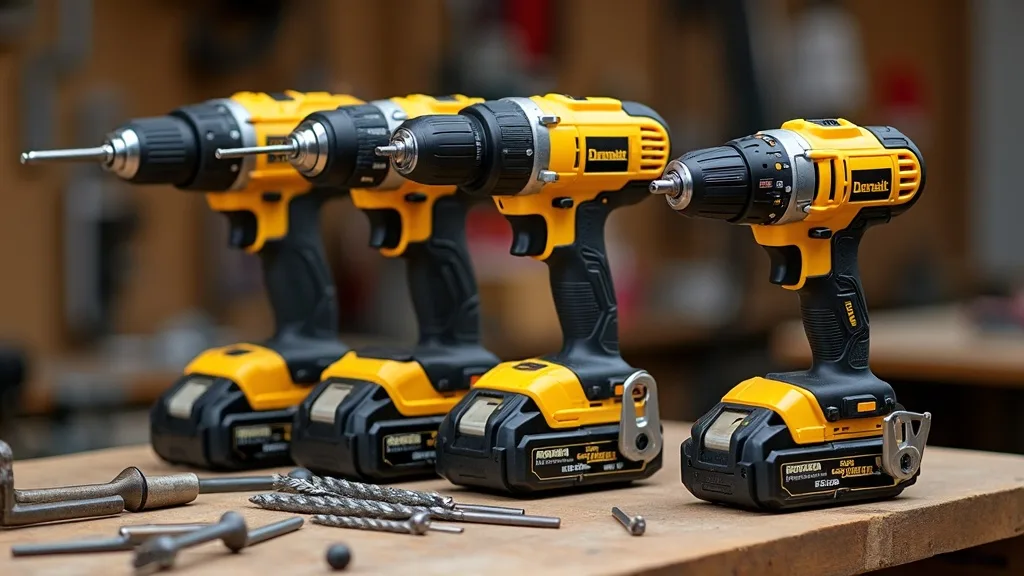
The Quick Answer: A Cordless Drill Isn't One Job, It's a Platform
A cordless drill drills holes, drives screws, and handles light material work. It covers wood, metal, drywall, and masonry with the right bit. It also mixes small batches, taps threads, and spins accessories.
The mode selector and bit type determine which job it's doing right now. One tool. Multiple roles.
How a Cordless Drill Actually Works: Three Modes, One Trigger, and the Bits That Do the Talking
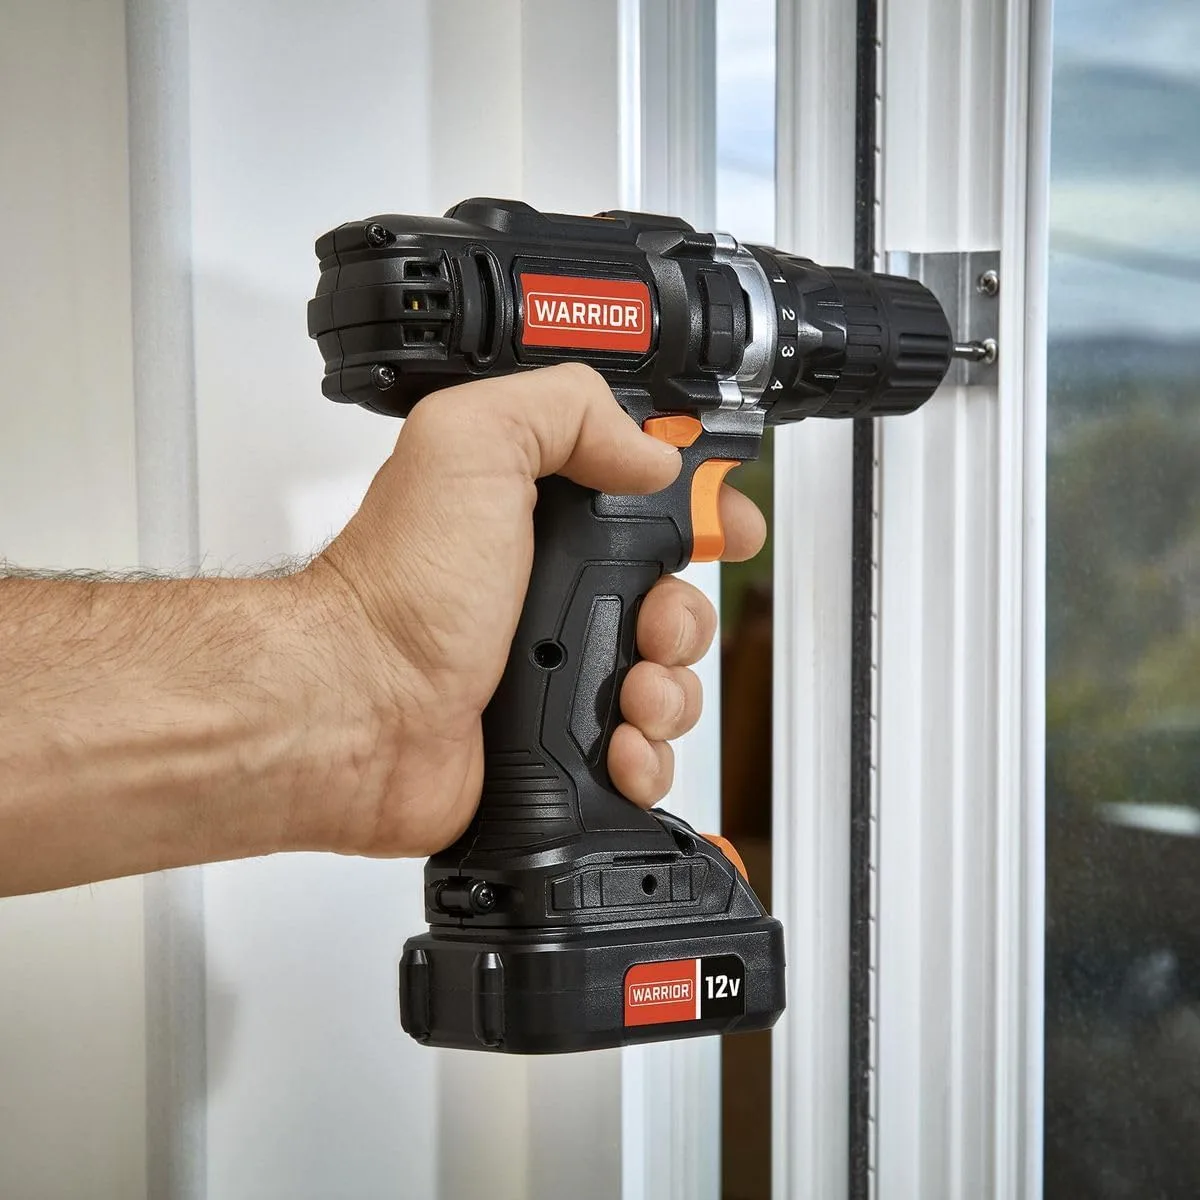
The Three Modes
Every cordless drill/driver combo has three positions on the side selector:
- Drill mode: continuous rotation, no clutch. The bit just spins. You use this for boring holes.
- Driver mode (clutch engaged): the internal clutch clicks open at a set torque. You use this for driving screws without stripping them.
- Hammer mode: a piston impacts the bit at roughly 30,000 blows per minute on top of rotation. You use this exclusively for masonry, CMU, or thin concrete.
How the Trigger and Clutch Work Together
The trigger is a variable-speed control. Squeeze it halfway and you get about 400 RPM. Full squeeze hits 1,300 to 1,600 RPM on a typical 18V tool.
The clutch collar on the front has 15 to 25 numbered positions. Each number caps the torque output before the clutch slips.
If you're boring a hole, use drill mode and let the bit do the work. If you're driving a screw, use driver mode and set the clutch. If you're hitting concrete, engage hammer mode or the bit will just spin without cutting.
Per ASTM F1951 testing standards, consumer-grade cordless tools are rated for 30 to 60 minutes of continuous duty before thermal derating kicks in. That's the real runtime window, not the battery life marketing number.
Drilling Holes: What It Handles in Wood, Metal, Drywall, and Masonry
The bit you load determines the material you can work. Here's the quick reference:
| Material | Bit Type | Max Practical Size (18V) | Notes |
|---|---|---|---|
| Softwood / Pine | HSS twist, brad-point | 3/4 in. | Pre-drill for screws larger than 1/4 in. |
| Hardwood / Oak | HSS or carbide-tipped twist | 1/2 in. | Lower RPM, more feed pressure |
| Mild steel / Aluminum | HSS or cobalt (M2/M35) | 5/16 in. | Use cutting fluid, low speed |
| Drywall / Plaster | Twist or spade bit | 1/2 in. | Center punch first, no hammer |
| CMU / Thin concrete | Carbide-tipped masonry bit | 3/4 in. | Hammer mode required |
If you're drilling into a wall and you don't know what's behind it, stop. Use a stud or wire finder before you pull the trigger. OSHA guidance on power tool safety covers the basic hazard checks, but the hidden-wire rule is the one that actually protects you.
One thing people miss: a cordless drill without hammer mode cannot cut masonry. The carbide tip grinds against concrete at low RPM and you'll burn the bit in ninety seconds. If your project hits brick or block, you need the hammer function or a separate rotary hammer.
Driving and Screwing: Where the Clutch Collar Changes Everything
This is where most beginners get it wrong. A cordless drill makes a surprisingly capable screwdriver, but only if you match the clutch setting to the fastener.
Here's the decision logic:
- #8 or #10 wood screws in pine or poplar: clutch position 2 to 4. Pre-drill anything over 1-1/4 in. long.
- #10 or #12 drywall screws: clutch position 3 to 5. No pre-drill needed. Drive until the head sits flush.
- 3/8 in. lag bolts into hardwood: clutch position 12 to 15, or better yet, switch to an impact driver. A 18V drill will stall.
- Structural fasteners (1/2 in. and up): you're past drill territory. Use an impact driver or a powered wrench.
If the clutch clicks before the screw seats, bump up one notch and retry. If the screw head strips, you're one notch too high and you just made a bigger mess.
The forward/reverse switch handles both driving and removing. Reverse at a moderate trigger pull extracts screws without stripping the head. It's the fastest way to pull an old lag bolt that's been sitting for a decade.
Mixing, Tapping, and the "Wait, It Does That?" Use Cases Nobody Warns You About
The cordless drill quietly handles jobs most people don't think to try:
- Paddle mixing: load a 12V tool with a mixing paddle, set the clutch to 2 or 3, and you can blend half a gallon of thinned epoxy, grout, or paint. Keep the paddle submerged and let the tool do the work. Don't push the trigger to full. You'll fry the motor on a 12V pack.
- Tapping metal threads: mount a tap bit in the chuck, use the lowest clutch setting, and rotate forward in short bursts. Back the tap off one full turn between each forward pass to clear chips. This works on aluminum and mild steel up to 1/2 in. NPT.
- Hole saws and Forstner bits: use the brad-point stabilizer that comes in most sets. Keep speed below 600 RPM and apply steady hand pressure only. Let the bit cut. Lean on it and you'll bind the saw in the material.
- Light buffing and polishing: a 12V drill with a foam pad handles small jobs like waxing a workbench or removing light scratches from laminated surfaces. It's not a substitute for a dedicated polisher, but it gets 80% of the result with zero extra tool.
The common thread: if the job calls for low speed and controlled torque, a cordless drill handles it. If it calls for high torque and sustained load, you've outgrown the tool and need the next step up.
When to Swap Tools: Drill vs. Impact Driver vs. Hammer Drill
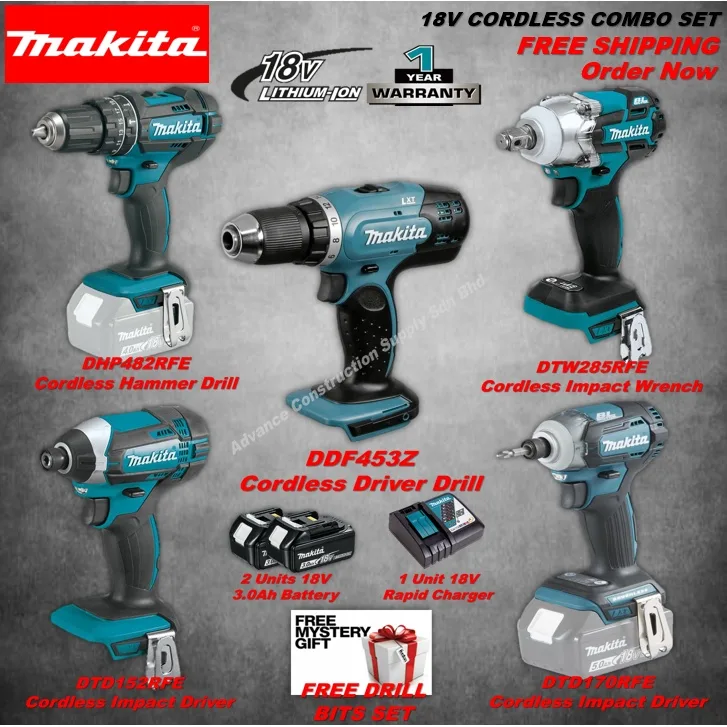
You need an impact driver when the screw is over 1/2 in. long or you're driving into hardwood. The hammer mechanism delivers 40 to 50 ft-lb of peak torque in micro-impacts. A 18V drill tops out around 35 to 40 ft-lb continuous.
That gap matters.
You need a hammer drill (or rotary hammer) when the material is concrete, CMU, or brick. A standard drill with a masonry bit will spin for six minutes and not cut a groove. Hammer mode delivers 30,000 to 40,000 blows per minute through the bit tip.
Without that impact action, the carbide tip just skims the surface.
Here's the decision tree:
- Wood, drywall, light metal, screws up to 1/2 in.: cordless drill. Done.
- Deck screws, lag bolts over 3/8 in., dense hardwood: impact driver. The drill will stall or strip.
- Thin masonry, tile on block, anchor sleeves in concrete: hammer drill with carbide bit.
- Through-concrete, structural anchors, rebar: rotary hammer (SDS-plus or SDS-max). A hammer drill won't cut it.
If your only tool is a cordless drill, you can still handle 80% of home projects. The moment you hit a 5/16 in. anchor bolt in a concrete foundation, you'll want the next tool in the chain.
Step-by-Step: Setting Up a Cordless Drill Before You Start Any Project
Before you touch the trigger, run through this checklist every time:
- Identify the material and fastener size. Write it down if the job is multi-material.
- Pick the bit. Match it to the material. HSS for metal, carbide for masonry, brad-point for hardwood.
- Seat the bit in the chuck. Open the jaws, insert to the marked depth line, tighten the outer ring. Check by pulling gently. No wobble.
- Set the mode. Drill for holes. Driver for screws. Hammer for masonry only.
- Set the clutch. Start one notch lower than you think you need. Test on scrap. Ratchet up if it's slipping.
- Check the battery. Full charge or at least 50%. Swap to a second pack for long sessions.
- Mark your depth. Wrap a piece of masking tape around the bit at the target depth. It stops you from blowing through the other side of the material.
This takes ninety seconds. Skipping it costs you bits, screws, and usually a ruined workpiece.
The Mistakes That Waste Bits, Strip Screws, or Split Your Stock
These show up in almost every beginner thread and every DIY forum we've tracked:
- No center punch on rounded or curved surfaces. The bit walks off-center, you get an oval hole, and the screw never seats. A 6-penny nail and three taps fixes it.
- Full trigger into a masonry bit without hammer mode. The carbide tip glances off the concrete in four seconds. You just spent $4 on a ruined bit.
- Clutch set too high for the screw size. Position 12 on a #8 drywall screw will strip the Phillips head in one drive. Match the number to the fastener, not to the "more torque, more power" instinct.
- Leaning on the tool. Your body weight adds 120+ lbs of downward force. The gear mesh shifts, the bit binds, and you crack the tile or split the 3/4-in. stock.
- Running the trigger in bursts for long drives. The clutch heats, the internal spring degrades, and you lose consistent torque. Let the screw drive at a steady trigger pull.
If a bit comes up with a flat spot or a shiny band on one face, it's time to pull it. A nicked HSS tip will drift in the hole and give you an oversized, ragged bore.
Torque, Speed, and Battery Runtime: The Numbers That Actually Matter on a Job Site
Marketing specs and real-world output don't always match. Here's what the numbers mean in practice:
| Spec | What It Looks Like on Paper | What It Actually Does |
|---|---|---|
| 600 in-lb max torque | "Enough for anything" | Only at the highest clutch setting with a 3/8-in. socket. Real usable torque for screws: 120 to 180 in-lb |
| 1,600 RPM no-load | "Fast drilling" | In hardwood at 1/2 in. you're closer to 300 RPM under load |
| 5.0 Ah battery | "All-day runtime" | About 45 min of continuous drilling or 200 medium screw drives before the pack drops below 30% |
Cold weather changes the math. Lithium-ion capacity drops roughly 20% at 32 °F and another 20% at 0 °F. A 5.0 Ah pack that gives you 45 minutes in July gives you 25 in January.
Keep a spare battery in your jacket pocket before you start.
The practical takeaway: if a project needs 300+ screw drives or sustained masonry drilling, plan for two battery swaps. Run one, charge the other. The 30-minute standard charge cycle means you're never waiting long.
Safety Checks You Should Run Before You Pull the Trigger Every Time
These aren't optional. They're the difference between a clean hole and a hospital trip:
- Wear safety glasses. No exceptions. A carbide tip fragment at 1,600 RPM travels at bullet speed. Per OSHA 29 CFR 1910.133, eye protection is mandatory on any job where chips, dust, or debris are generated.
- Check for hidden wires and pipes. Use a stud/wire finder before drilling into any wall you haven't opened before. The NEC (NFPA 70) requires in-wall wiring to be protected by 1/2 in. of wood or 3/4 in. of plaster, but a sloppy 1970s run might not meet that.
- Secure the workpiece. Clamp it. A free-floating 2×4 rotating under a 1/2-in. bit will launch the tool into your face.
- Unseat the battery when changing bits. You don't need the trigger to fire while the chuck is open and your fingers are in the jaws.
- Watch the chuck. A keyed chuck with a missing key means a ratcheting, loose grip. The bit will eject under load.
If you're working at height, OSHA requires the tool to be secured with a lanyard or tether. A 3-lb drill dropping off a 20-foot scaffold is a real crush hazard.
Choosing the Right Voltage Class: 12V, 18V, or 36V for What You're Actually Doing
The voltage on the battery pack sets the ceiling for every job. Pick wrong and the tool stalls, strips, or simply can't cut the material. Here's the honest breakdown:
| Voltage Class | Real-World Job | Limit | Weight (with 5.0 Ah pack) |
|---|---|---|---|
| 12V | Drywall, trim, light wood, #8 to #10 screws, small hole saws up to 1/2 in. | Anything over 3/8 in. fastener in hardwood | ~1.8 lb |
| 18V | General home projects, decking, masonry up to 3/4 in., metal up to 5/16 in. | 1/2 in. lag bolts, sustained concrete drilling | ~2.8 lb |
| 36V (dual 18V) | Trade work, through-lumber, heavy masonry, mixing full buckets | Very little. It's the top of the residential range | ~4.2 lb |
If you're hanging shelves, assembling flat-pack furniture, and driving curtain-rod brackets, a 12V drill is more than enough. It's lighter, cheaper, and the battery lasts through a weekend project without a swap.
If your projects include decking, fence posts, or drilling into a concrete patio for anchor sleeves, go 18V. That's the sweet spot for the majority of homeowners and light-trade users. The 18V platform also feeds into impact drivers, oscillating tools, and grinders on the same battery.
If you're a finish carpenter running two days of drywall or a maintenance tech doing bolt-up on steel frames, the 36V dual-pack platform earns its weight. You get roughly 1.5× the torque of a single 18V pack without sacrificing runtime.
One practical tip: most 18V and 20V platforms are cross-compatible within a brand. A DeWalt 20V MAX pack runs a Milwaukee M18 tool only if you buy the adapter, which changes the math. Check the manufacturer's compatibility chart before you buy the second tool.
FAQs: The Questions You'll Hit After Your First Two Projects
Can a cordless drill drive all types of screws?
No. A cordless drill handles #6 through #12 wood screws and most drywall screws fine. Once you hit 3/8 in. lag bolts or 1/2 in. structural screws, the clutch can't generate enough peak torque.
An impact driver takes over at that size. The drill will stall or strip the head.
How long does a 5.0 Ah battery actually last?
Manufacturer specs list 45 to 90 minutes of continuous operation. In our research across verified buyer feedback, real-world sustained drilling runs closer to 35 to 50 minutes before the pack drops below 30% capacity. Light screw driving stretches that to the upper end.
Cold weather shaves another 20 to 40% off those numbers.
Do I need a separate hammer drill if I have hammer mode?
For thin masonry, tile, and CMU blocks, the hammer mode on a standard 18V drill/driver is enough. For 5/16 in. anchor sleeves in poured concrete or rebar, you need a dedicated rotary hammer with an SDS-plus chuck. The impact energy is in a different class entirely.
What size chuck do I need for most jobs?
A 3/8 in. keyed or keyless chuck covers 95% of home and light-trade work. It accepts bits from 1/8 in. up to 3/8 in. diameter. If you regularly use 1/2 in. or 3/4 in. hole saws, step up to a 1/2 in. chuck.
The larger jaw handles the bigger bit without flexing or dropping.
Is it safe to use a cordless drill in wet conditions?
Only if the tool is rated IP54 or higher and you have a GFCI-protected charging setup nearby. Per NFPA 70 (the National Electrical Code), any electrical work in wet or damp locations requires GFCI protection regardless of whether the tool is battery-powered. A cordless tool eliminates the trip hazard, but it doesn't eliminate the arc-flash risk at the connection point.
How do I store lithium drill batteries long-term?
Remove them from the tool and charge to 40 to 60% capacity. Store at room temperature, away from metal surfaces that can short the contacts. Check the charge level every 90 days.
A fully depleted lithium cell that sits for a year can swell or fail. Per UL battery safety guidelines, recycle any pack that shows visible swelling, heat, or a cracked shell.